

This weekend be busy building most worthy activity. Nothing and be compared to being self satisfied when you create something on your own and for your home. Try this out and get busy finishing your own kitchen cabinet. Go through the simple steps and you will find its not a big deal to create all from scratch and on your own. It’s all about exploring your skills and make it happen. So lets get started:
Tools and materials required:
1. Measuring tape
2. Pencil (Black or any color will do)
3. Sheet of White Paper
4. Wood of your choice
5. Power saw and sander
6. Sandpaper to smooth the wood
7. L brackets to clamp the shelf
8. Mechanical drill
9. Screws
10. Paint
11. Paint brush to paint
12. Urethane for the finishing
Instructions:
Step 1: Measuring the Kitchen
Start by measuring the kitchen using the measuring tape and find the actual size where the cabinet will be built. You need to focus not only on making it fit the place but also look appropriate in it. Make the sketch with the measurements and the design on the paper. Take advice from the person using the kitchen. The design and the measurement has to be appropriate since itâs the basis for all the next level of execution.
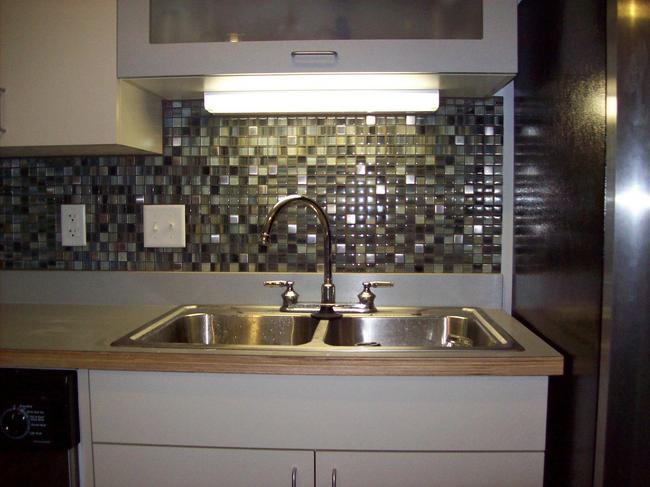
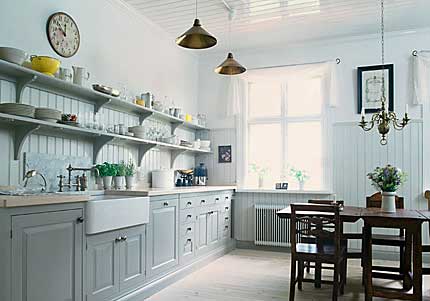
Step 2: Choosing the Wood
Once you have the measurement and the design, you now need to visit the local lumber or the store home improvement materials are available. Speak to the professional and show your design. Donât forget to carry the sketch and the measurements you have noted. This will help in determining the quantity of wood to be bought. Take the help of the expert to choose the type of wood is best suite your requirement. Ensure that the material and the color match with the decor and the requirement.
Step 3: Cutting the Wood
Once you choose the wood, the next step is to cut the wood as per the measurement. Remember that you will need total 5 pieces, two for the side, one for the back, one for the top and one bottom piece. You also need to cut the number of shelves as per your requirement. Finally you keep the door of the cabinet also ready.
Step 4: Sanding the Wood
Its now the turn to use your power sander, by doing this the edges are smothened. All the pieces you have cut for your open kitchen cabinet have to be sanded this is done to prevent any accidents which may arise due to rough surfaces.
Step 5: Assembling the Cabinet Frame
After all the sanding its time to assemble the frame and put the drill and screws to work. Keep your friend of family memberâs help handy to get the assembling work done. Secure the sides pieces of your cabinet to the back. Secure the top and the bottom pieces to the back and the sides.
Step 6: Securing the Shelves
Its again time to use your measuring tape. Go back to the location of your cabinet and mark spots with a pencil where you have to position L-brackets. The shelves will be secured with the help of L-brackets. Use L-brackets for each shelf to secure the shelves. You will need four of them, two on either side of the cabinet. Ensure that the shelves are in level.
Step 7: Finishing the Open Cabinet
Finishing time! Finally cover the cabinet with the paint. Follow the instructions provided before you begin to paint. Remember to give long and even strokes for better and finer finish. Allow it to dry. If necessary, apply a second layer of paint and dry it thoroughly. The final finish will come from coat of clear urethane over paint.