

The task of cleaning your oven is one that many people dread. We put it off until the last minute, dreading scrubbing off grease and accumulated residue and removing burnt food particles.
You don’t have to clean your oven the hard way. There are ways to make it easier. And the reward is a sparkling clean oven that is worth the effort.
To simplify cleaning your oven, we developed a comprehensive guide broken down by areas like racks, trays and glass.
Oven cleaning: why is it important?
Cleaning your oven may seem tedious, and you may wonder why you should bother. However, dirty ovens are dangerous and can lead to the following problems:
- There is visible discolouration
- The stove has been damaged
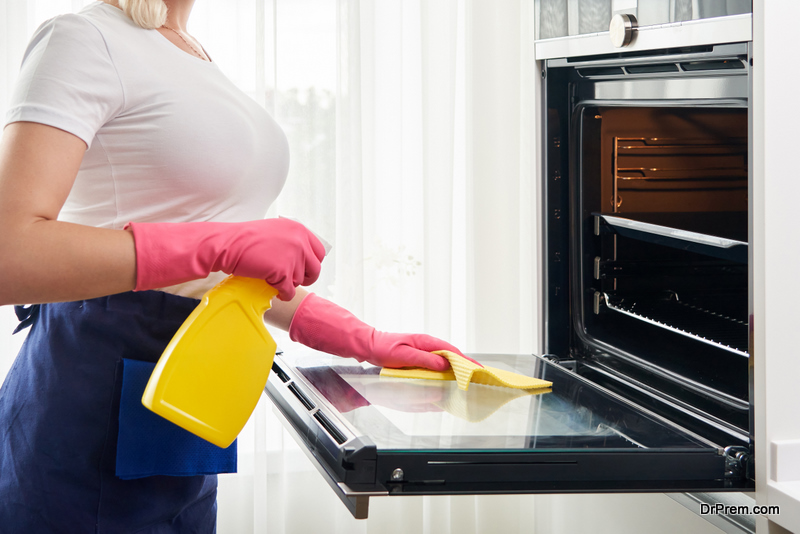
- The glass is covered in grime
- A large amount of smoke is produced
- A fire hazard
- Oven life is reduced
Preventing fires
You can leave grease and food inside the oven if you don’t clean it for a while. The food will continue to burn, resulting in a fire hazard, causing extensive smoke output the next time you cook. Fire alarms can be triggered by smoke, and your meal may have a bitter, burnt taste due to the smoke.
Cleaning your oven with the right product
It is easier to clean your oven with the right tools. The type of oven cleaner you use will determine the quality of your cleaning. Cleaning products are available in a wide range, ranging from solid solutions that make cleaning easier and target heavier stains to ones with a low chemical concentration, resulting in lighter cleaning and greater scrubbing.
There is a toxic chemical in many oven cleaning products called sodium hydroxide that most people are unaware of. It is a powerful cleaning chemical, but it can also be corrosive. Domestic cleaning products are available that do not contain harsh chemicals, but they are less effective than those with harsh chemicals.
Cleaning your oven with natural ingredients
Bicarbonate of soda and vinegar are two standard natural cleaning products people use instead of oven cleaners:
- Add a few tablespoons of water to half a cup of bicarbonate soda
- Make sure that you keep any electric components away from the mixture as you paste it all over the inside of the oven
- Let’s leave overnight
- To remove the mixture, use a damp cloth
- After that, spray vinegar all over the area, keeping it away from electrical wiring
- Repeat if necessary if there is any residue left
You may need to apply natural oven cleaners repeatedly for stubborn grease and stains.
Cleaning your oven the right way
Detailed instructions on thoroughly cleaning your oven are included in this guide.
How do you know what you need?
To clean your oven yourself, you’ll need the following equipment:
- Your choice of oven cleaner
- A pair of rubber gloves
- Disposable sponges
- A scrubber
- A large resealable plastic bag
- The floor should be lined with kitchen towels
- Clean cloths
Making preparations
It took 5 minutes to complete.
- Before beginning, ensure the oven is switched off at the mains – this is crucial since liquid cleaners will be used.
- You should wait until the oven is cold before cleaning it.
- Ensure that your arms and wrists are covered at all times by wearing rubber gloves.
- If any chemicals are present, open the windows to ventilate them.
- Burnt food and loose dirt should be removed.
Oven rack cleaning
Including soaking time, this will take you 30 minutes.
- If any food or debris is stuck to the oven racks, remove them and knock them off.
- You can remove most of the harsh residue by placing them in large sealable bags with a solution and letting them sit for 4-6 hours or overnight.
- After removing the racks from the bags, scrub the remainder of the residue with a scourer and hot, soapy water.
- Immediately rinse and dry.
- After cleaning everything, return to the oven.
Sealing oven racks in a rubbish bag is an alternative to using plastic bags that come with cleaners for oven racks.
The racks can also be soaked in warm water and washed up liquid for a few hours, preferably overnight. Then proceed as described above.
You can find more information and tips on how to clean oven racks in our guide.
Cleaning the oven’s interior
It takes 30-60 minutes to complete.
- Make sure all debris and food bits are removed.
- Before using your chosen oven cleaner, carefully read all safety instructions.
- Follow the instructions on the oven cleaner and leave it on for the recommended time.
- To remove grime and grease, use a sponge to scrub away the particles.
- Use a wet cloth to wipe out the oven, avoiding getting anything electrical wet.
- If stubborn stains persist, repeat application.
- Allow the oven to ventilate at the end by leaving the door open.
Glassdoor cleaning
This should be 15 minutes.
- The glass door can be cleaned with your regular oven cleaner, or buy a special glass cleaner.
- Open and lay the oven door flat to prevent the product from escaping.
- Clean the glass by removing any loose debris. Apply the cleaner and leave it on for the recommended time.
- Using a sponge, gently scrub the glass to remove grime and stains. An old toothbrush can be used to reach corners and crevices if necessary.
- Dry with a cloth after wiping clean.
Oven tray cleaning
Approximately 15-20 minutes.
- Using the paper towel, wipe away any excess grease from the tray corners, especially those accumulated there.
- Ensure the trays are sufficiently covered with warm water by placing them in the sink.
- If there are stubborn oil stains, add biological washing powder and mix.
- Depending on the size of your trays, you may have to turn them halfway during soak time.
- Remove any remaining residue with a scouring pad.
- For a final clean, place in dishwater.
How to clean the hob
15 to 20 minutes will be needed.
- If food debris is on the hob or the burners, you must clean them.
- Read the package instructions before using hob cleaner and apply a small amount to the hob.
- Circularly scrub the area with a sponge.
- A cloth should be used to wipe it clean.
- Dry the burners thoroughly after cleaning them with warm soapy water.
- Wipe the edges of the hob and pilot light with a damp cloth.
- Burners should be replaced.
Assemble the oven again
Five minutes were taken.
- Dry all oven components entirely and make sure there is no trace of cleaning product remaining.
- After replacing each component, reassemble the appliance.
- If necessary, open the oven door to ventilate any remaining products.
Here are some things to be aware of
When we want warm and nourishing dinners in the winter, we use our ovens daily. Ovens are a significant household appliance often called the heart of the kitchen.
Despite this, regular use can quickly lead to wear and tear, which can be costly to replace. You can spot damage sooner by cleaning your oven periodically, extending its useful life.
Check for any damage before cleaning your oven at home. We recommend looking out for the following issues:
- Around the stove, there is a damaged rubber seal
- Parts that are damaged or not sitting straight
- Deficiencies in electrical systems or new evidence of them
The best course of action is to hire a professional to assess the damage and fix it if it occurs.
Oven cleaning by a professional versus a DIY project
Although some people clean their ovens themselves, if you have the time and the right products, you may want to hire a professional to do the job for you. Here are some advantages of hiring a professional oven cleaner:
Deep cleaning
Many cleaning solutions only address grease and light surface grime, not carbon deposits or dirt built up in filters and mechanisms.
A professional oven cleaner can get deep into the mechanisms to remove grease deposits affecting the oven’s functionality and decreasing lifespan.
Taking care of
In addition to having the ability to disassemble and reassemble your oven, professional oven cleaners also know which parts to take apart to get the best cleaning. They can also carry out a maintenance examination to identify any damage.
In contrast, home cleaning isn’t as thorough. Thus, a full service gives you the peace of mind that your appliance works at its best.
Mess-free equipment
Our company uses safe and non-toxic products to maintain a clean and hygienic environment at home without exposing you to harmful chemicals.
When we soak oven components outside your house, we ensure they remain clean by soaking them outside your home. You can then use the oven right away after we leave.
Conclusion
Deep cleaning your oven is quite a task. You must do it at least every three months to ensure its cleanliness and good maintenance. However, we all know that we live pretty busy lives, and a little help from professional oven cleaners won’t hurt anyone.
Article Submitted By Community Writer